Purpose
This tutorial walks you through the basic process of creating your first Akari puzzle in Puzzle Maker Pro. You’ll learn how to choose grid size, difficulty, and generate a puzzle preview.
Audience
Beginners who want to generate their first puzzle quickly and understand the essential settings.
Step 1 – Open Puzzle Maker Pro
- Select Logic → Akari – Light Up from the main puzzle type menu.

Step 2 – Configure the Grid
- In the Settings tab, set the number of Rows and Columns.
- Check Square to keep the grid proportional.

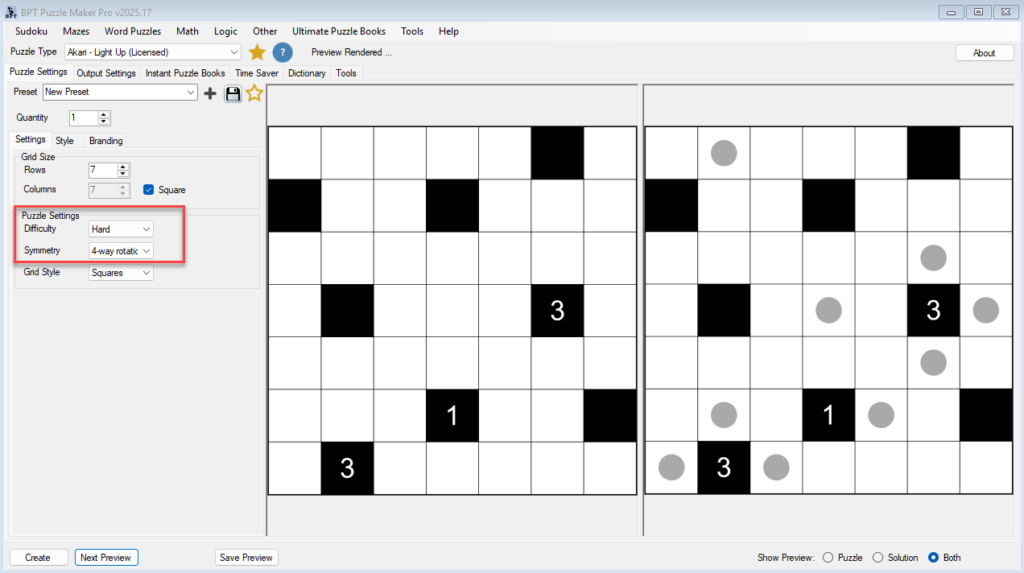
- Choose your Difficulty level (e.g., Easy, Normal, Hard).
- Choose your preferred Symmetry type if desired.
Step 3 – Preview the Puzzle
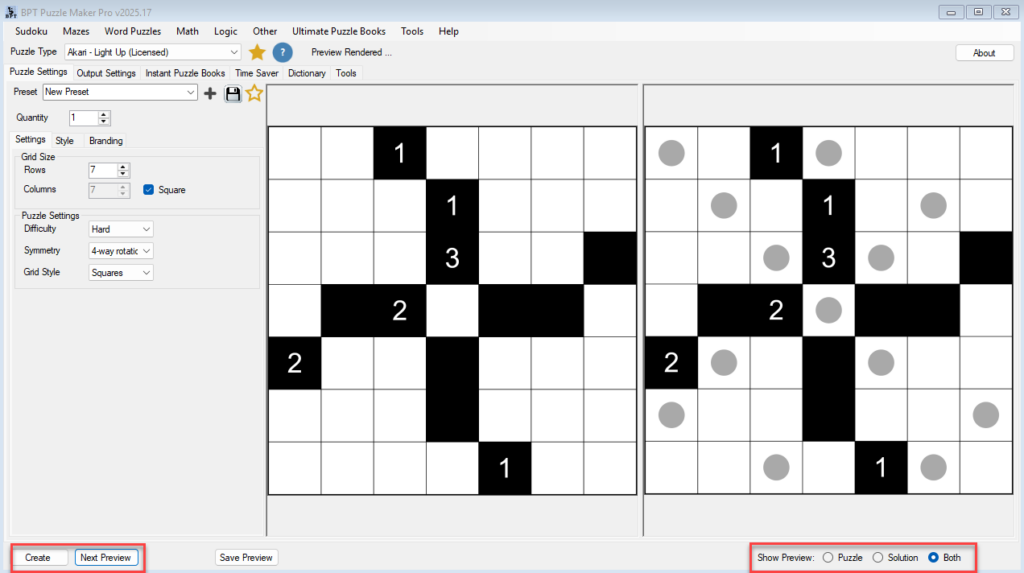
- Click Next Preview to generate a new puzzle and see both puzzle and solution side by side.
- Use Show Preview → Both to view puzzle and solution panels.
Step 4 – Save or Export
- Click Save Preview to store your design.
- Use Create to generate and save a puzzles (PNG, JPG, SVG, or PDF), as set by the Quantity.
Notes
You can quickly adjust settings and re-preview until you find the balance between visual appeal and difficulty you want.
For puzzle books or multiple puzzles, see the Time Saver tutorial later in this series.