Getting Started with Puzzle Maker Pro – Bridges
🔍 Overview
Learn how to create your first Bridges puzzles in Puzzle Maker Pro.
In this tutorial, you’ll set up your grid, adjust island density, define bridge limits, and generate your first printable puzzle — ready for puzzle books, printables, or classroom activities.
Who this is for:
Perfect for beginners, educators, and puzzle book creators who want to design professional, customizable logic puzzles without any coding or complex setup.
🧩 Required Modules
- Puzzle Maker Pro – Bridges
The standard Bridges puzzle generator for creating printable puzzles in PNG, JPG, or PDF format. - Puzzle Maker Pro – Bridges Creator Edition
(Includes all features of Bridges plus Time Saver automation, Interactive PDF and HTML output, advanced puzzle book layouts, and full commercial rights.)
🧰 Preparation
Before you begin:
- Open Puzzle Maker Pro and select Bridges from the puzzle type dropdown.
- Decide what type of puzzles you want to create:
- Single puzzles for printables or samples
- Full puzzle books (PDF or PowerPoint) using built-in book generation features
- Choose an output folder where your puzzles and solutions will be saved.
- Familiarize yourself with these key areas of the interface:
- Puzzle Settings – control logic and grid layout
- Output Settings – define image size and file structure
- (Optional) Time Saver – batch creation tool available in Creator Edition
🪜 Step-by-Step Instructions
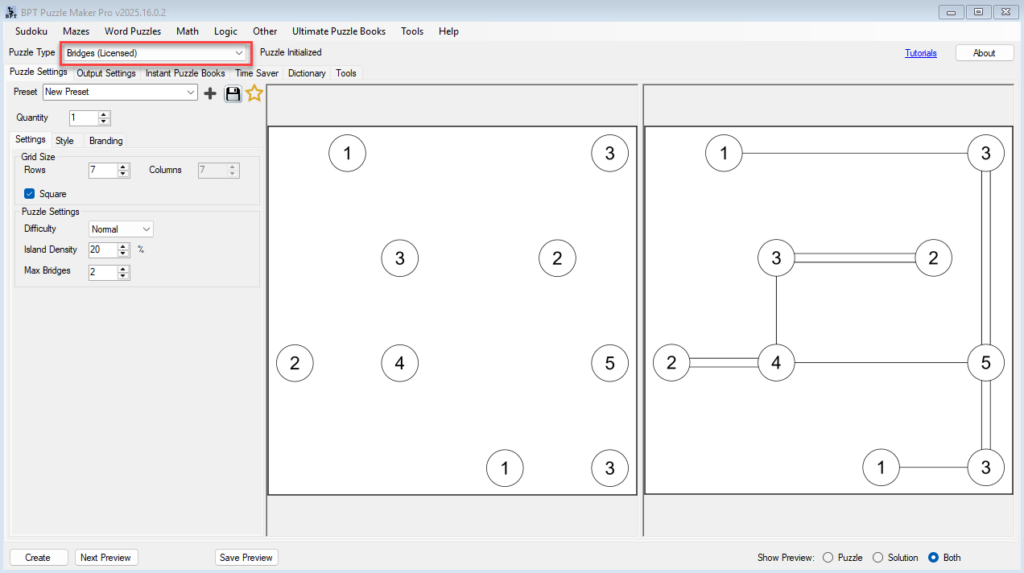
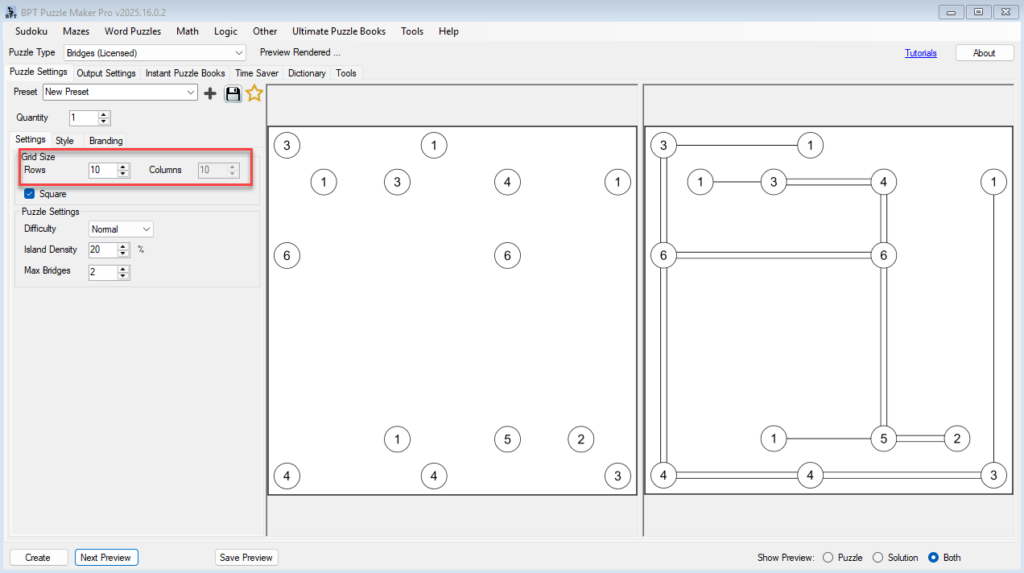
Step 1 – Set the Grid Size
- Go to the Puzzle Settings tab.
- Choose your desired grid size (for example, 10×10, 15×15, or 20×20).
- Smaller grids create quick, easy puzzles.
- Larger grids generate more complex logic challenges.
💡 Tip: Start with 10×10 for learning — it previews quickly and helps you understand how bridges connect islands.
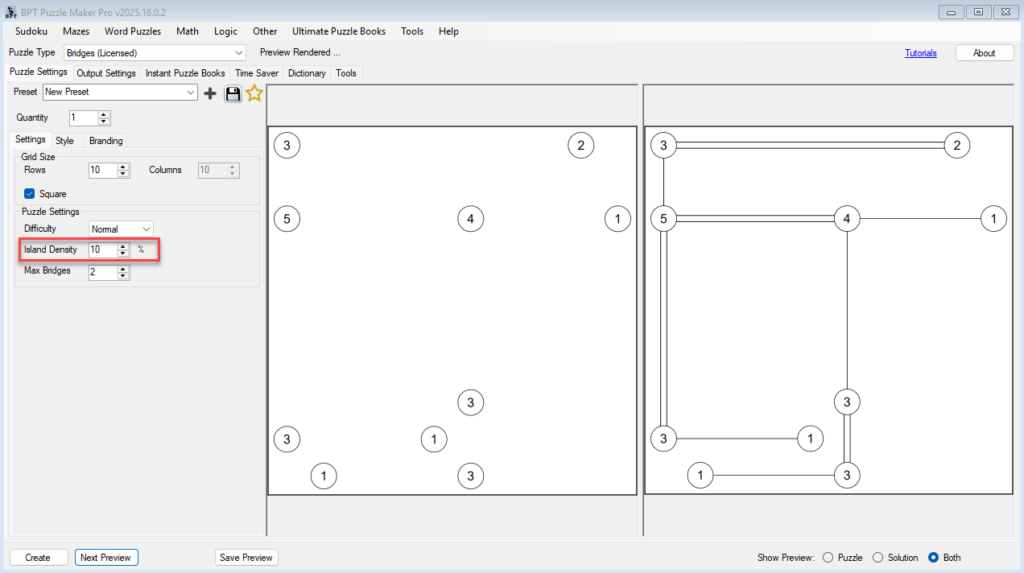
Step 2 – Adjust Island Density
- Use the Islands % setting to control how many islands appear in your puzzle.
- Range: 10 – 30 % of the grid cells become islands.
- Fewer islands → more open space and simpler puzzles.
- Higher density → more connections and higher difficulty.
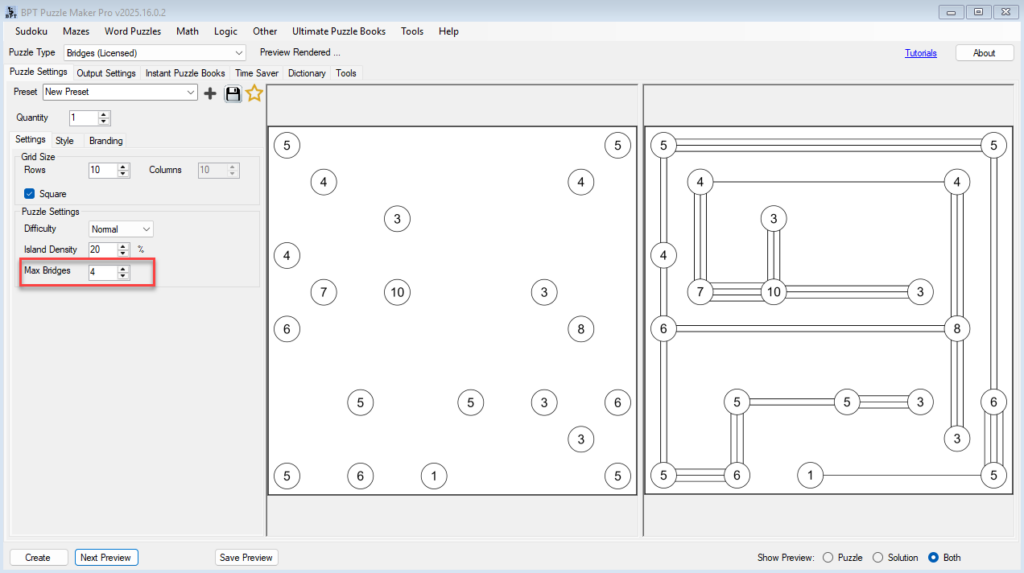
Step 3 – Set Maximum Bridges Between Islands
- Choose the Max Bridges value (1 – 4).
- This controls how many bridges can connect any two islands.
- 1 = simpler puzzles.
- 2 = default / standard for bridges puzzles
- 4 = more intricate network designs.
Step 4 – Preview Your Puzzle
- Click Next Preview to generate a test puzzle.
- Switch between Puzzle, Solution, or Both in the preview panel.
- Adjust grid or density settings as needed until you like the balance of challenge and clarity.

Step 5 – Create and Save
- When satisfied with the preview, click Create.
- Your puzzle and its solution are automatically saved to your output folder.
- Files are ready for use in printables, puzzle books, or digital teaching materials.
💡 Pro Tip: In the Bridges Creator Edition, enable Use Time Saver to batch-create multiple puzzles or full puzzle books with different settings in one session.
🎯 Outcome
By the end of this tutorial, you’ll have:
- Created your first printable Bridges puzzle
- Understood how grid size, island density, and bridge limits affect difficulty
- Learned how to preview and save puzzles in your preferred output format
You now have a strong foundation for exploring styling, difficulty control, and batch automation — all covered in the next tutorials.
📚 Further Reading
- Styling and Branding Your Bridges Puzzles
- Create Bridges Puzzles with a Hand-Drawn Look
- Creating Difficulty Levels and Puzzle Variations
- Using Time Saver for Batch Puzzle Creation