🧩 Getting Started with Pipe Mazes in Puzzle Maker Pro
Create your first visually engaging pipe maze in just minutes
📦 Required Modules
- ✅ Puzzle Maker Pro – Pipe Mazes
- 🔄 Optional: Pipe Mazes Creators Bundle (includes Time Saver, extra layouts, PLR rights)
🛠️ Preparation
To follow along:
- Make sure you’re using Puzzle Maker Pro v2025.10 or later
- Open the software and select Mazes > Pipe Mazes from the dropdown
- Decide whether you want a straight or curved pipe style
✅ Step-by-Step: Create Your First Pipe Maze
1. Select the Pipe Mazes module
From the main dropdown, choose Mazes > Pipe Mazes. The interface will update to show pipe-specific puzzle settings.

2. Set Grid Size and Path Style
- Choose a grid size (e.g., 15×15 is a good starting point)
- Pick your path style:
- Straight: Blocky, angular pipes
- Curved: Rounded elbow pipes; adjust Curve Strength for tighter or looser bends

3. Enable Fake Paths (Optional)
- It’s best to always check Fake Paths. Switching it off, will result in a singular path from start to end. (This is a special feature, but not useful for regular mazes).
- Set Meandering to add additional detours/ curves

4. Preview the Puzzle
Click Next Preview to generate a sample maze. Adjust settings as needed and repeat until satisfied.
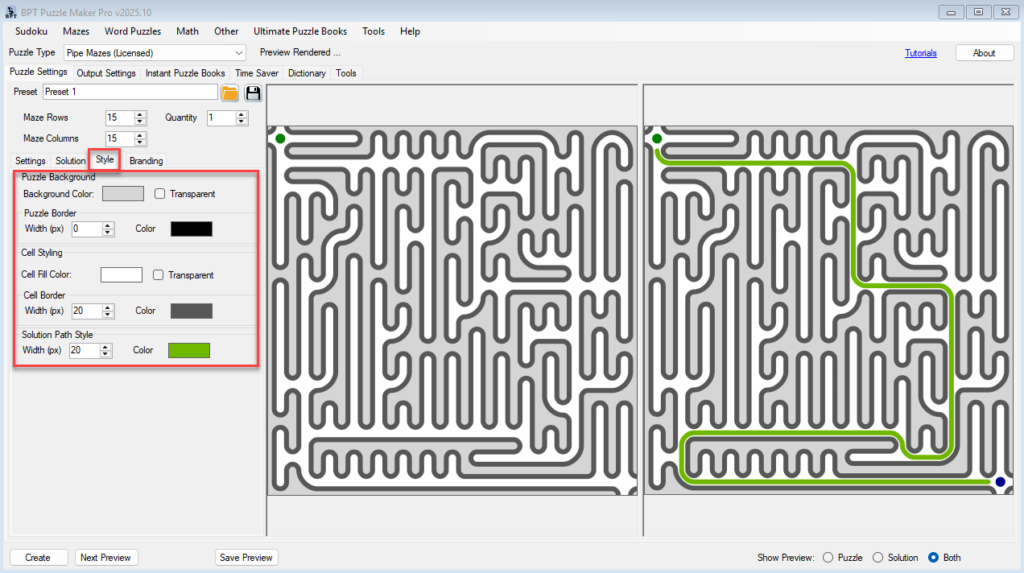
5. Customize the Style
- Switch to the Style tab to:
- Change background color
- Adjust path width
- Add a border or change path/wall colors
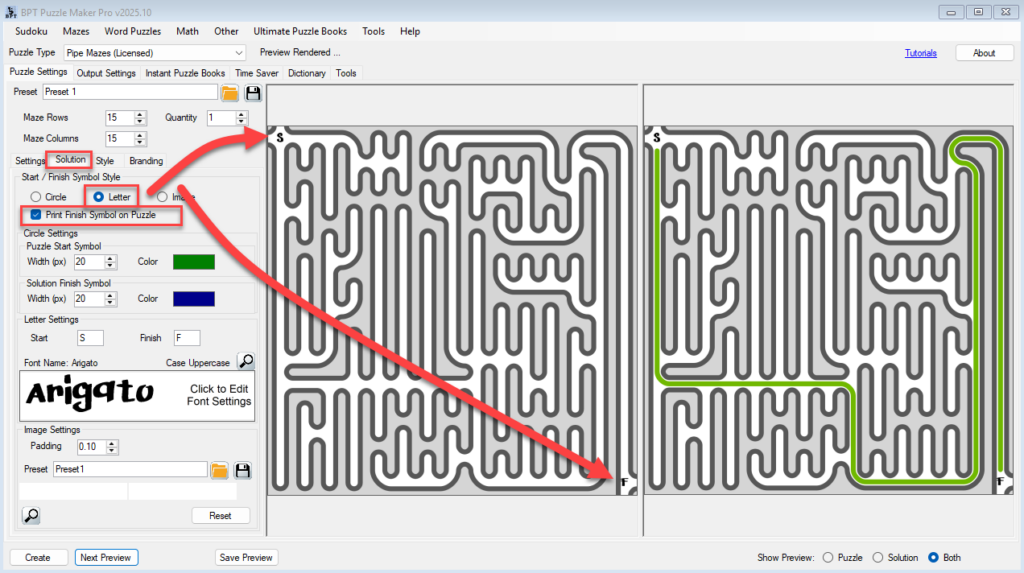
6. Set Start and Finish (Optional)
- Go to the Solution tab
- Choose between circle, letter, or image for start/finish points
- Customize colors, fonts, or icons — or hide them entirely for a clean look
7. Export Your Maze
- Go to Output Settings
- Choose your format: PNG, PDF, or SVG
- Click Create to generate and save the file
🎉 Outcome
You’ve created your first Pipe Maze — complete with custom layout, visual styling, and optional start/finish markers. It’s ready to use in:
- Printable worksheets
- Activity books
- Classroom or KDP publishing
🔗 Further Reading
- Style Settings for Pipe Mazes
(Customize the look and feel of your puzzles) - Start/Finish Options – Letters, Circles, Images
(Great for themes, branding, or education) - Batch Maze Creation with Time Saver
(Speed up production for KDP, PLR, and puzzle books)