Getting Started with CalcuDoku in Puzzle Maker Pro
Overview
CalcuDoku combines arithmetic and logic in one elegant puzzle format.
In this tutorial, you’ll learn how to create your first CalcuDoku puzzle — from selecting the grid size and difficulty level to previewing and exporting your results.
By the end, you’ll understand how each setting influences both the solving logic and the visual layout of your puzzles.
Requirements
You’ll need:
- Puzzle Maker Pro – CalcuDoku (Standard or Creator Edition)
Step 1 — Select the CalcuDoku module in Puzzle Maker Pro
When you open Puzzle Maker Pro, choose CalcuDoku from the module list on the left.
This loads the default settings for the puzzle, including a starting grid and operator mix.

You’ll see the familiar Preview area on the right. It’s where you can test and visualize every change instantly.
If you’ve used other puzzle modules before (like Bridges or Sudoku), the workflow will feel right at home — CalcuDoku simply adds different puzzle.
Step 2 — Choose a Grid Size
The grid size defines both the puzzle’s scope and its solving depth.
Smaller grids such as 3×3 or 4×4 are perfect for younger players or quick educational exercises.
Mid-size grids (5×5 or 6×6) provide a balanced challenge that suits puzzle books or daily logic pages.
Larger grids (7×7 to 9×9) are intended for experts who enjoy multi-step deduction.
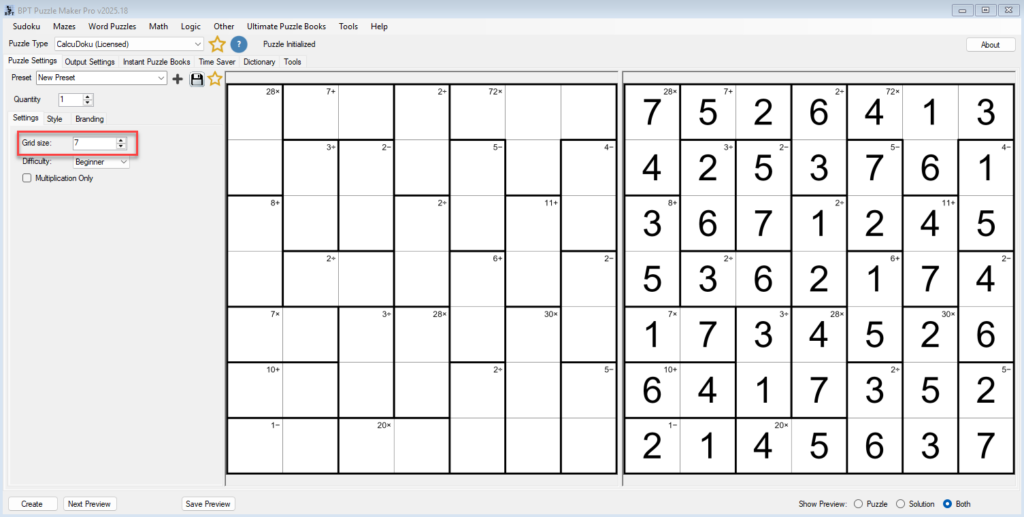
After selecting your preferred grid size, look at the preview: the number range updates automatically (for example, 1–6 in a 6×6 puzzle).
Each change refreshes the cage layout, so you can instantly evaluate how the puzzle complexity evolves.
Step 3 — Set the Difficulty
CalcuDoku uses four logical difficulty levels: Beginner, Easy, Normal, and Hard.
These don’t just change how many cages appear — they influence the underlying logic patterns required to solve the puzzle.
- Beginner and Easy rely on straightforward reasoning, great for classroom handouts or first-time solvers.
- Normal introduces cross-cage deductions where arithmetic overlaps become key.
- Hard puzzles may require multi-step inference chains, ideal for adult puzzle books or competitive solvers.
Try switching between two difficulties and previewing the result — you’ll notice how cage grouping and target operations change to create a visibly more complex puzzle.
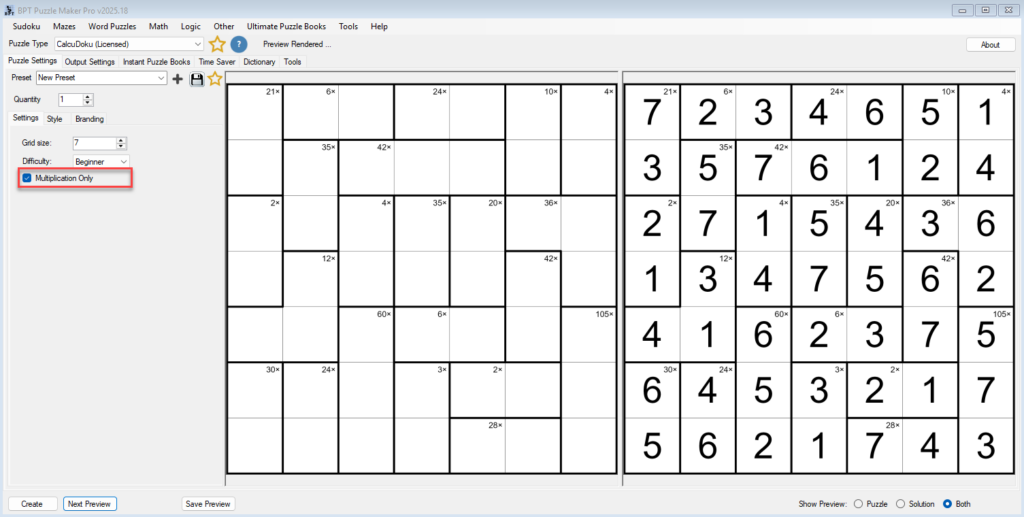
Step 4 — Select the Operators
CalcuDoku supports addition (+), subtraction (−), and multiplication (×).
Multiplication is mandatory, otherwise we cannot guarantee unique solutions for these puzzles. .
- Multiplication only → higher difficulty, since product-based reasoning offers more possible combinations.
Changing operators reshapes the puzzle’s internal logic and visual rhythm. For example, multiplication cages often create visually larger regions, giving your puzzles a distinct personality.
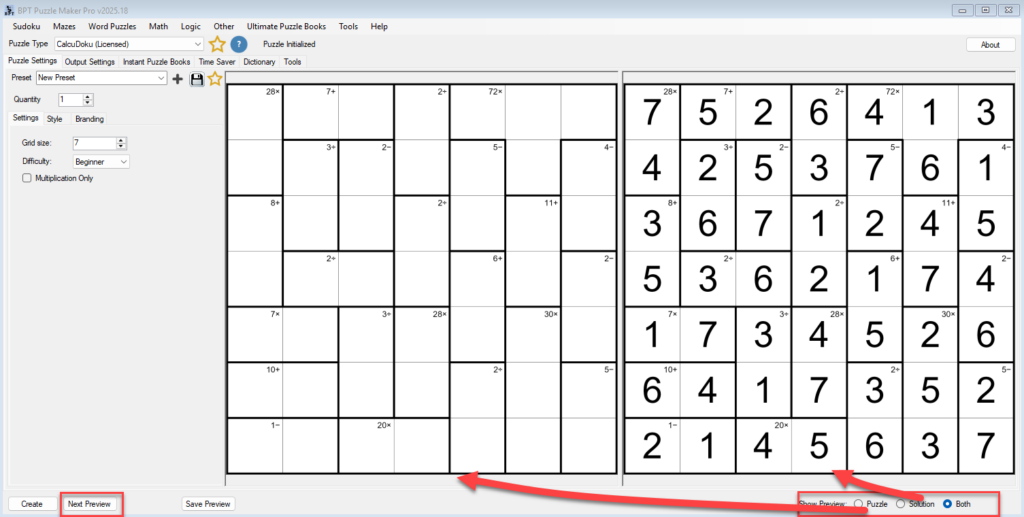
Step 5 — Preview the Puzzle
Click Preview Puzzle to generate and view your puzzle instantly.
You’ll see bold cage outlines with operator labels and target numbers inside. Each preview is unique — regenerate as often as you like to find the perfect balance between challenge and clarity.
Use the Solution View (if available) to confirm that the puzzle has a single valid solution.
This step is useful before exporting puzzles for commercial or classroom use.
Step 6 — Export for Print or Digital Use
Once satisfied, click Create and choose your preferred format:
- PNG or JPG – best for books and image-based layouts. (Currently our software will always create 1 of the bitmap formats PNG and JPG).
- SVG – optional, ideal for scalable graphics or further editing.
- PDF – clean and print-ready for single puzzles
By default, exports are set to 300 DPI for high-quality printing, but you can switch to 96 DPI for online worksheets or digital packs.
If you plan to produce an entire puzzle book, save this setup as a Preset. You’ll use it again in the Instant Puzzle Books workflow later.
Tips
- Use 4×4 or 5×5 grids for warm-ups and educational content.
- Preview multiple times; each generation changes cage patterns, giving you endless unique puzzles.
- For larger books, mix difficulties to guide solvers from easier to harder challenges naturally.
- Save presets regularly — it’s the best way to maintain a consistent difficulty profile across multiple projects.
Outcome
You’ve successfully created and exported your first CalcuDoku puzzle.
You now understand how grid size, difficulty, and operator settings interact to shape both solving logic and aesthetic style.
This foundation prepares you for the next tutorials, where you’ll customize visuals, apply branding, and automate puzzle book production.