🎨 Styling and Branding Your Seek and Find Puzzles
Overview
This tutorial shows how to customize the look and feel of your puzzles in Puzzle Maker Pro – Seek and Find.
You’ll learn how to control fonts, colors, borders, and symbol scaling, and how to add your personal or business branding elements such as a logo, watermark, and description.
Stylish puzzles stand out — whether you’re creating classroom materials, printable worksheets, or puzzle books for sale.
Required Modules
- Puzzle Maker Pro – Seek and Find
(Instant Puzzle Books is included and outputs one puzzle per page.) - (Optional) Puzzle Maker Pro – Seek and Find Creator Edition for advanced layout control or batch creation.
Preparation
Before styling your puzzle:
- Open Puzzle Maker Pro and select Seek and Find from the dropdown menu.
- Open an existing puzzle preset or create a new one using the Settings and Advanced tabs.
- Click Next Preview to generate a base version — this helps you see changes as you style.

Step-by-Step
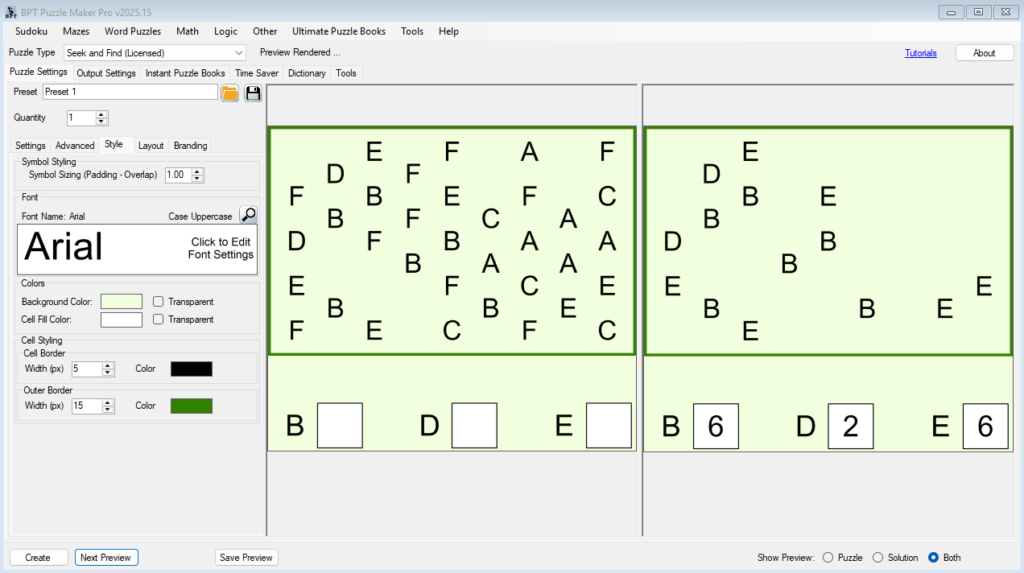
Step 1: Adjust Symbol Appearance (Style Tab)
Open the Style tab to refine your puzzle’s visual presentation:
- Symbol Scaling – Adjust symbol size and spacing for balance.
- Use larger spacing for clarity in children’s puzzles.
- Use tighter spacing for compact, adult-level challenges.
- Borders and Lines – Enable or disable cell borders and adjust thickness for print clarity.
- Background Color – Keep white for print, or apply light colors for visual interest in digital puzzles.
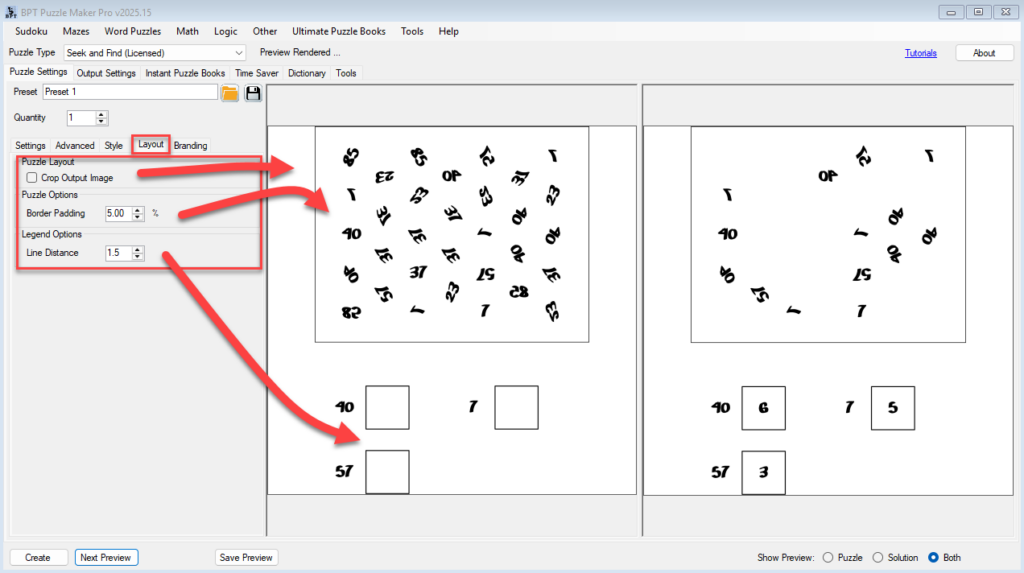
Step 2: Refine Layout and Legend Placement
Switch to the Layout tab:
- Crop Output Image– Remove padding around the puzzle and legend (default output format is square).
- Border Padding – Add padding on the inside of the border, between the border and the symbosl
- Line Distance – Control distance between Legend rows.
For most puzzles, default settings provide good balance, but custom values help when designing themed or large-grid puzzles.
Step 3: Add Branding Elements
Go to the Branding tab to make your puzzles identifiable:
- Title – Add a clear title (e.g., Find the Hidden Numbers or Spot the Forest Animals).
- Description – Include a short line explaining the puzzle, such as Count each type and record how many you find.
- Watermark / URL – Enter a website or name that appears subtly on the puzzle.
- Logo – Add your logo file (PNG with transparency works best).
- Font and Color Settings – Match your puzzle text to your book or worksheet style.
Step 4: Preview Your Styled Puzzle
- Click Next Preview to view the styled result.
- Make adjustments if text overlaps, borders are too bold, or spacing feels tight.
- When satisfied, click Save Preview to keep the styled puzzle example for later use or reference.
[Screenshot Placeholder: Comparison before and after applying styling and branding]
Step 5: Create and Save
Click Create to generate your puzzle and solution files.
Both will be saved automatically (JPG, PNG, or PDF) using your chosen styles and branding.
If you use Instant Puzzle Books, each page will include one styled puzzle per page, ready for print or digital use.
Outcome
You’ve customized the appearance and identity of your Seek and Find puzzles.
Your puzzles now reflect your own visual style — ideal for personal brands, classrooms, or published puzzle collections.