🧩 Getting Started with Seek and Find
Overview
In this tutorial, you’ll learn how to create your first Seek and Find puzzle using Puzzle Maker Pro – Seek and Find.
You’ll explore the basic workflow, from choosing symbols to generating your finished puzzle and solution pair.
This is the perfect place to begin if you want to create Seek and Find puzzles for classrooms, printable activities, or puzzle books.
Within ten minutes, you’ll have your first professional puzzle ready to use or publish.
Required Modules
Preparation
Before starting:
- Open Puzzle Maker Pro and select Seek and Find from the puzzle dropdown menu.
- Decide which symbol type you’ll use — for example:
- Letters
- Numbers
- Colors or Color-with-Shape sets
- Images (e.g., animals in color or black and white)
- Set or confirm your output folder in the Output Settings tab.
- Keep your symbol images in a simple folder structure for easy selection later.

Step-by-Step
Step 1: Choose Your Symbols
In the Settings tab:
- Under Symbol Source, select the type of content you want to hide in your puzzle (letters, numbers, or images).
- For image puzzles, select the Image Preset or drag/drop your own images.
- Set the Target Image Count – how many times each symbol appears in the puzzle.
- Define the Minimum and Maximum Count Range that will appear in the legend (the “find X items” section).

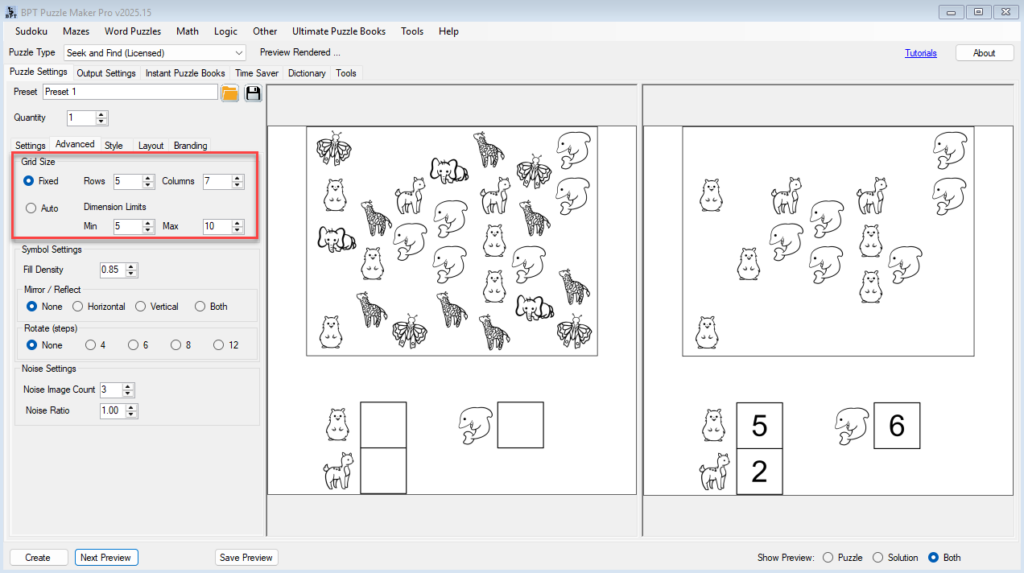
Step 2: Adjust Puzzle Size and Structure
Still in the Settings tab:
- Choose Auto Grid Sizing to let the software select dimensions automatically.
- Or select Manual Grid Size and define the exact number of rows and columns.
- Use Preview to test how much space your puzzle fills before generating.
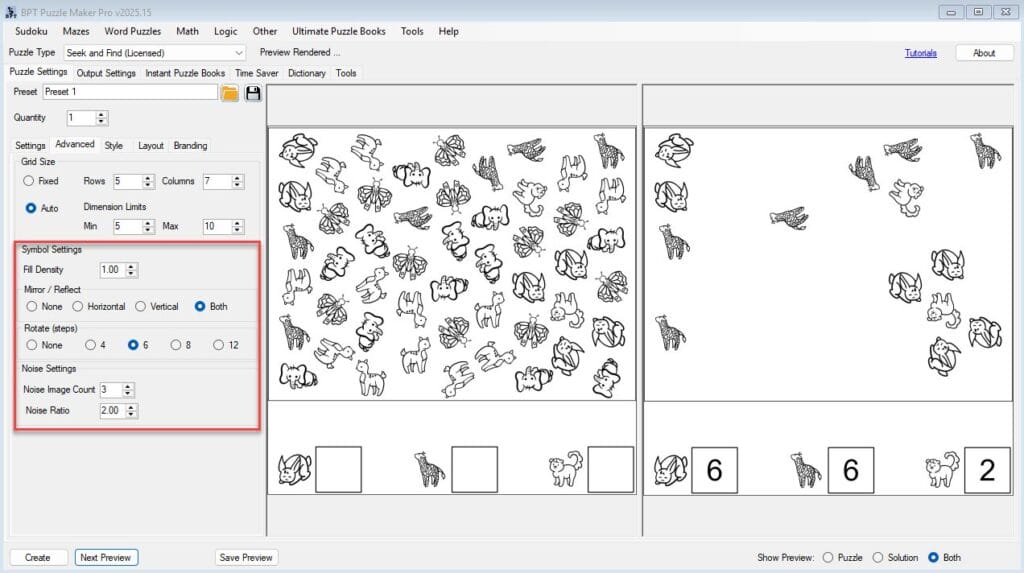
Step 3: Fine-Tune Difficulty
Open the Advanced tab to adjust challenge and variety:
- Mirroring – choose none, horizontal, vertical, or both.
- Rotation – rotate symbols at 30° (12 steps), 45° (8 steps), 60° (6 steps), or 90° (4 steps) increments.
- Fill Density – define how many cells contain symbols.
- Noise Ratio – add decoy symbols for more challenge.
Step 4: Style and Layout
Move to the Style and Layout tabs:
- Style – control symbol scaling, borders, and spacing for overall appearance.
- Layout – manage padding, line thickness, and legend layout (how the “find these” list appears).
Use these settings to improve readability and polish for print or digital output.

Step 5: Preview and Create
When ready:
- Click Next Preview to see a generated version of your puzzle.
- Adjust any settings as needed for balance and clarity.
- Click Create to save your puzzle and solution.
The program will automatically save both the puzzle and the solution as separate files in your chosen format (JPG, PNG, or PDF).
Note: You can set a quantity greater than one to create multiple puzzles in a single run. Each puzzle uses the same settings, but content can be randomized automatically, so every puzzle and solution pair will be unique.
Outcome
You’ve successfully created your first Seek and Find puzzle — complete with a matching solution.
You now know how to choose symbols, set grid sizes, control difficulty, and produce professional-quality results for print or classroom use.